Screenshot Position / Size
Scope
- Simulation content object > Imported Page macro > Screenshot Position / Size property
- Simulation content object > Partial Screenshot macro > Screenshot Position / Size property
- Simulation content object > Screen macro > Documentation > Screenshot Position / Size property
Purpose
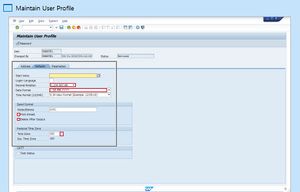
Documents generated from a simulation (by default) include a 'cropped' image of the full screen. The full screen is contained in the Page macro, and the area to crop for inclusion in the document is defined by the Screenshot Position / Size property. The crop is defined as X,Y,W,H, where X,Y are the coordinates of the upper-left corner of the crop from the upper-left corner of the full screen, and W,H are the width and height of the cropped area.

The crop area is shown as a gray rectangle on the screen image in the Thumbnail View in the Project Editor. It is not visible in the Step View. The Documentation View shows the cropped image.
This property is set by default during recording, according to the Tools > Settings > Authoring Settings > Auto Crop settings, but can be adjusted during editing. To change the crop size you can either edit the Screenshot Position / Size property field, or use the buttons available in the Properties toolbar. Three buttons are available:
- Manual Crop: This opens a new window which shows the full screen image, and the crop area. Drag the crop area (or its boundaries) to the required position.
- Auto Crop: Reset the crop area to the default position.
- Uncrop: Set the 'crop' to the full screen, so that the full screen image is shown in the document.
If you merge screens to include multiple action macros within the same Step, then make sure you adjust the crop area to include all of the action areas.
Note that the Screenshot Position / Size property is entirely unrelated to the Screenshot property. The Screenshot Position / Size is misleadingly named, and should probably be thought of as "Crop Position / Size".